**Once the chamber is full, or alt fire is released, the rockets are launched
**Once the chamber is full, or alt fire is released, the rockets are launched
**Pressing primary fire after alt fire sends the three rockets in a tight spiral rather than a fide, fan-like spread.
**Pressing primary fire after alt fire sends the three rockets in a tight spiral rather than a fide, fan-like spread.
**Pressing the primary fire a second time while holding the alt fire button, will turn the rockets into grenades and will launch in a cluster, detonating after about four seconds..
Secondary fire draws 3 rockets into the firing chamber
Once the chamber is full, or alt fire is released, the rockets are launched
Pressing primary fire after alt fire sends the three rockets in a tight spiral rather than a fide, fan-like spread.
Pressing the primary fire a second time while holding the alt fire button, will turn the rockets into grenades and will launch in a cluster, detonating after about four seconds..
Basic use
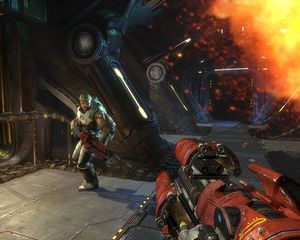
The rocket launcher is a general purpose; high damage weapon that shoots projectiles that explodes on contact
Tactical uses of the rocket launcher in Onslaught
If a player is broadcasting his position - i.e. you know where he is by seeing his shots; but can't see him; load up 3 rockets and time your encounter so that the rockets fly as you come face to face.
They are very useful against scorpions. The momentum stops a scorpion in its tracks; causing a spin and disorientation in your opponents. 3 rockets will give you a frag as well
The preferred medium range weapon vs a goliath. Dodging in front; releasing a rocket, and dodging again for cover works well. Making the initial attack a 3 rocket attack will take a big dent out of his health before he knows he is being attacked.
Rockets fly very straight and are ideal to attack nodes or turrets at a distance. Lining up a long shot with a sniper rifle; and staying motionless is a risky but handy strategy.
Rockets are rarely useful against mantas or raptors; unless they are pinned down by a shock core or turret.
Tactical uses of the rocket launcher in Deathmatch
The rocket launcher causes your opponent to leave the floor; preventing him from dodging. Good players can predict where the player will land, and another rocket will meet the player as he lands
Hitting the ground by a player's feet is easier than hitting a player. Launching the rocket from the top of a jump or dodge gives you a better angle to target your opponent's feet than shooting from standing.
Counters to the Rocket Launcher
The rockets are slow moving; so dodging out of the way is reasonably straightforward.
Do not dodge excessively; or your movement patterns can be predicted, and your opponent will know where you will land
Do not get backed onto a wall or a steep hillside, where the splash damage from a vertical surface will damage you.
Try to keep the higher ground.
Retreat gently, from where other weapons will be more effective, or close the distance and use flak (or even if you lose the duel there's a fair chance that your opponent will injure himself as well)